Starting a Test Using RMC Mobile App
- Log into your RMC account using the mobile application
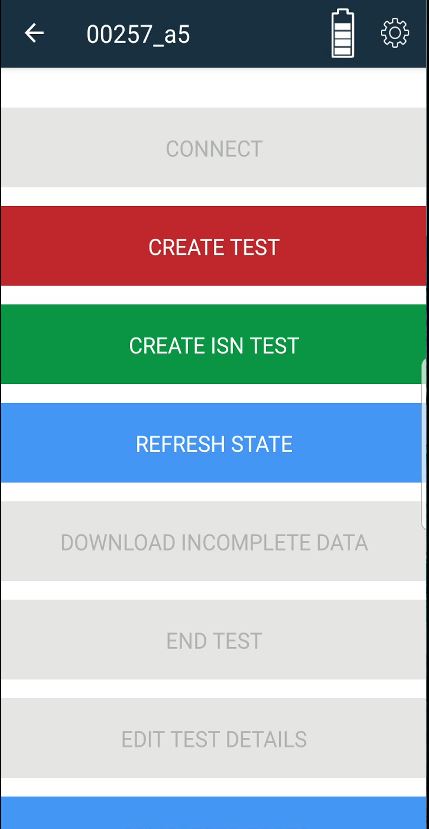
- If ISN Integration is turned on for your Company, you will see the green Create ISN button
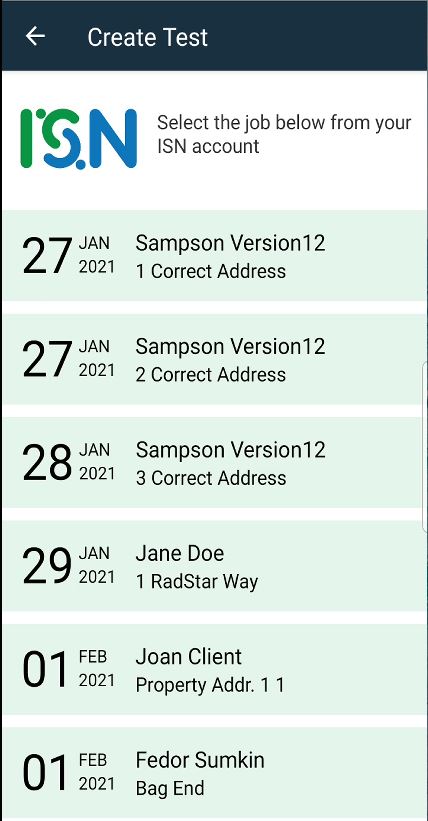
- Select the Green ISN button. This will bring you to the Select ISN Test screen
- The Select ISN Test screen will list your Orders from ISN that have the Inspection Type or Service you defined as including a RadStar test in your ISN account
- Select the ISN Order for which you are creating the radon test
- This will bring you to the Create Test screen where the Order information is pre-populated from your ISN account
- Fill in the rest of the required fields now (or you can do later in the web or mobile app)
- Click Start Test
- Your radon test has started and the test details have synced to the RMC at radstarcrm.com
Ending a Test Using RMC Mobile App
- These steps assume that a test is currently running on the RadStar Alpha and that test was started as an ISN Test using the RMC mobile app
- Log into your RMC account using the mobile application
- Connect to the RadStar Alpha via Bluetooth
- Select End Test
- This will end the test on the RadStar and download the radon test results to the mobile application. At this time you can update any test details required except for those that are pulling from ISN.
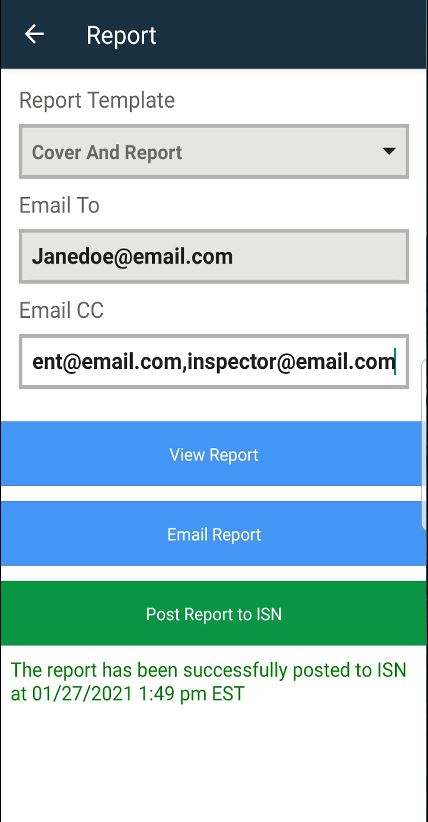
- After reviewing all information, select Sync Test. This will upload your test results to the RMC and redirect you to the Reports interface within the mobile app.
- If ISN Integration is turned ON for your RMC Company, there will be a green button for Post Report to ISN. Clicking this button will generate the official radon report and post the PDF to the Order in your ISN account as an Attachment with Attachments are Public checked.