ISN Office Settings
Follow these steps to turn the ISN integration on or off in your Office Settings.
- Log in to your ISN account.
- Go to Settings / Office Settings
- Scroll down and find the RadonAway RadStar Alpha button under Working with Other Applications. Click on the RadonAway RadStar Alpha button.

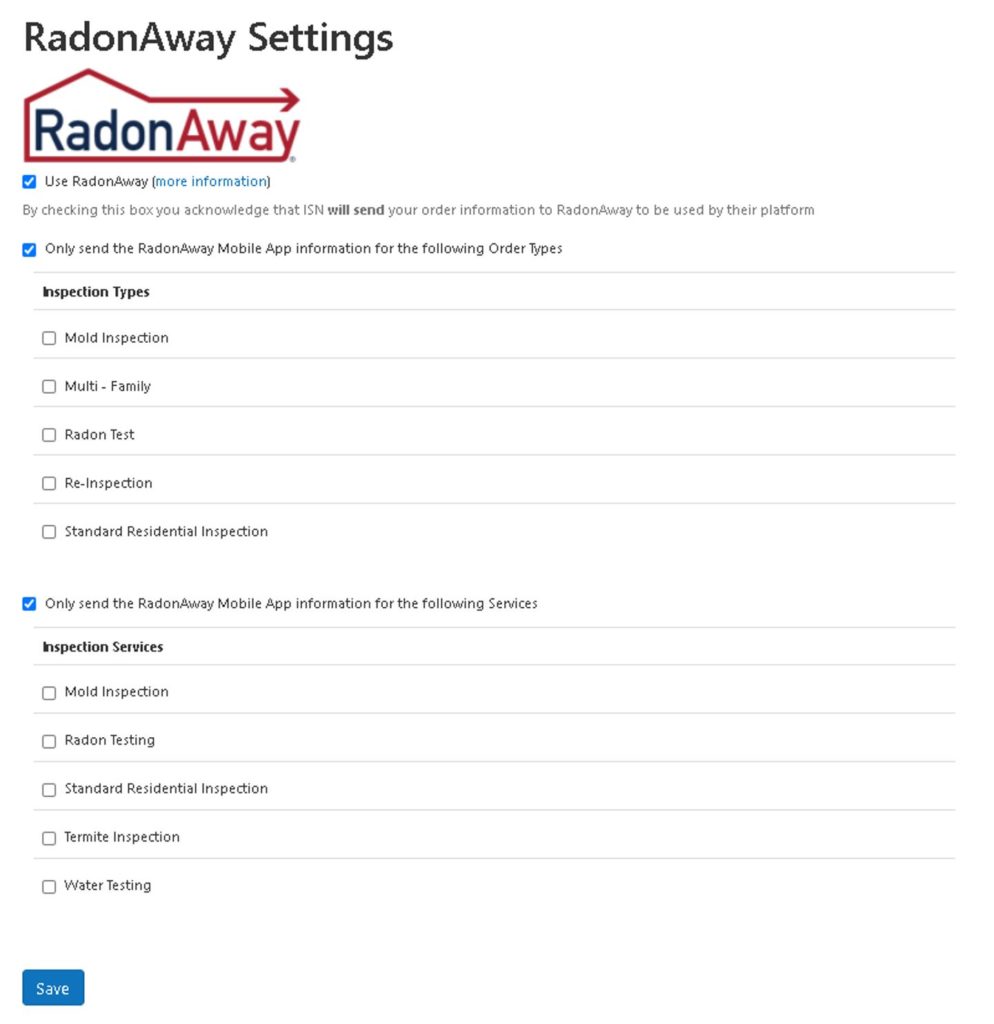
4. Select the checkbox for “Use RadonAway” to turn the integration on. Uncheck to turn the integration off.
5. Select which Inspection Type(s) and/or Service(s) will include a RadStar Alpha radon test.
- If you want to categorize your radon tests based on Inspection Type, select the Only send the RadonAway Mobile App information for the following Inspection Type checkbox and select the Inspection Type(s) that should include a RadStar Alpha radon test for your company.
- If you want to categorize your radon tests based on Services, select the Only send the RadonAway Mobile App information for the following Services checkbox and select the Service(s) that should include a RadStar Alpha radon test.
6. Select Save
RMC Company Admin at Company Level
NOTE: You must be logged in as a Company Admin user to turn on ISN Integration in the RMC.
- Log in to the Radon Management Cloud at radstarcrm.com as a Company Admin.
- Go to Settings / My Company Info
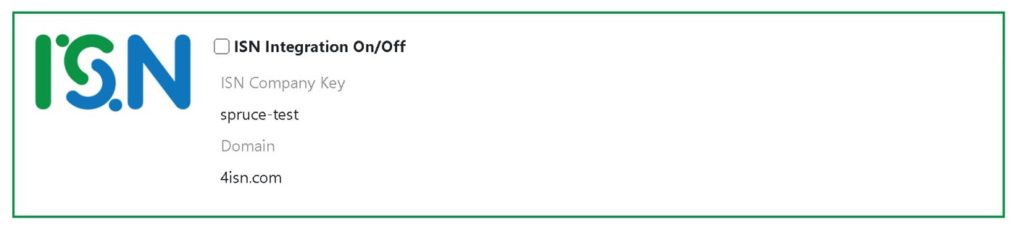
- In the green-bordered ISN Integration box, select the checkbox to turn the ISN Integration On
- Enter your ISN Company Key and Domain
- Click Save Changes
RMC My Profile for Each User
Each ISN user has unique Access Keys and Security Access Keys. For security reasons, these keys can be long so it is easier to email or text them to your mobile device and copy/paste into the My Profile page. You can access each user’s ISN account by entering the Access Key and Security Access Key on the My Profile page of the RMC in the mobile or web applications.
- Go to My Profile form on RMC mobile app or web app.
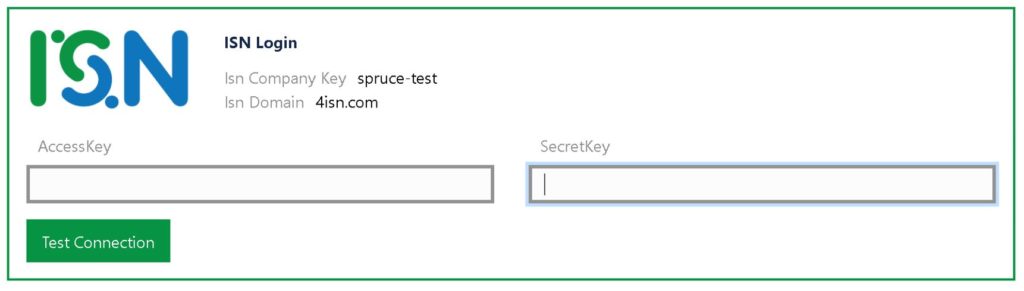
- The green-bordered ISN Integration box will be visible under the Signature box if ISN Integration is turned on for the user’s company.
- Enter the user’s ISN Access Key and Security Access Key.
- Click Save Changes.
Pushing ISN Order Data to RMC
Automatic Push of ISN Order to RMC
Once the RadonAway RadStar Alpha integration is turned on in your ISN account, ISN will automatically push the relevant data from the Orders that meet the Inspection Type and/or Services set up in your ISN Office Settings. While the integration is turned on in ISN, the data will push updates to the RMC every 2 hours for Orders that are within 1 week of the Order date.
Manual Push of ISN Order to RMC
There may be situations where you want the ISN Order to be available immediately or when you need to make a change to an address in ISN to push to the RMC. In these situations, you can manually push a single Order from the View Inspection page in ISN.
To manually push an Order or Order updates to the RMC:
- Go to View the Order you want to send to RMC
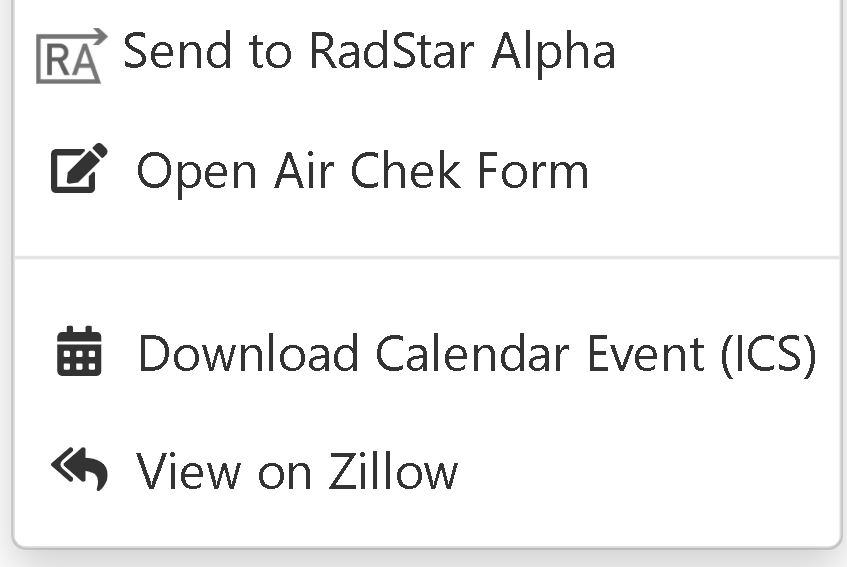
- Click on the Actions menu to see Action drop down menu
- Select Send to RadStar Alpha
- You will receive a dialog asking if you want to send to RadonAway. Click Yes.
You will receive a confirmation message that it sent successfully