For all three model legacy devices, the process for creating a test is the same. After you have chosen the correct model continuous radon monitor,
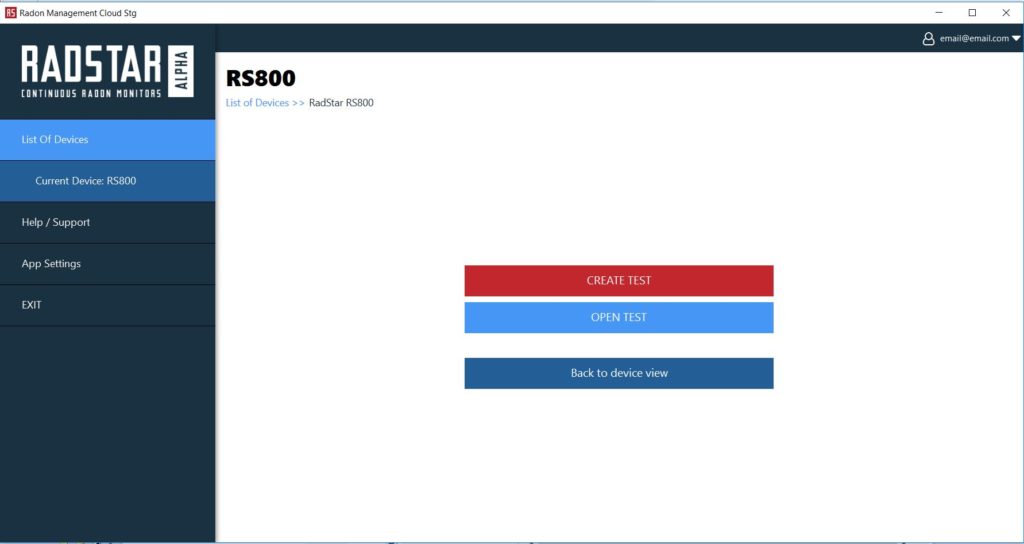
- Select CREATE TEST from the Current Device Screen
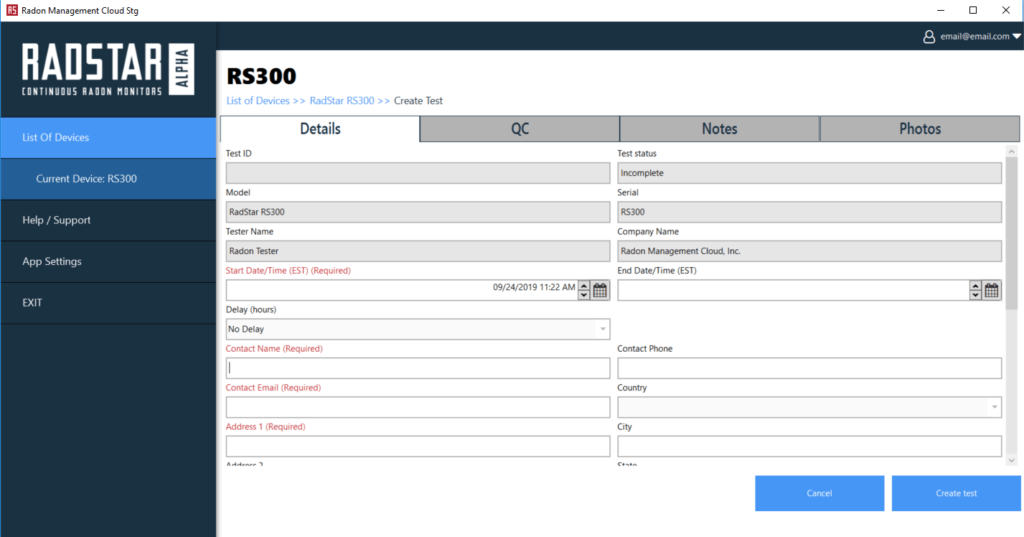
2. This will bring you to the Create Test / Test Details page. Enter (at least) the required fields to create the test. You do not have to enter all fields to create a test as the test details can be updated later.
3. When done entering data for the test, select the Create test button in the bottom-right.
4. Selecting the Create test button will save the test on your local computer. You will be redirected back to the Current Device screen. Now that you have created a test, the options on this screen have updated to Test Details, Download Data, Results (disabled until after you download data from CRM), Reports (disabled until after you download data from CRM), and Close Test.
NOTE: Unlike the RadStar Alpha Series, test details and results for the RadStar RS300, RadStar RS800 and Sun Nuclear 1027 do not sync to the Radon Management Cloud until after the test results have been downloaded from the continuous radon monitor.